HOW TO TUTORIALS Bulk sending
Bulk sending allows you to easily send one document to many recipients all at the same time, where each recipient receives their own unique individual copy. You can upload recipients using a formatted .csv file, or you can add your recipients manually one at a time.
Though the ability to send hundreds of documents at the same time can be a powerful tool for organisations, it is important to understand how the feature works and to test your data with a small sample size before committing to a full send.
RESOURCES >> Documents and Templates
step one
Preparing your template for a bulk send
To start a new bulk send, you will need to have an existing template ready in your account.
- When your template is ready:
- Open your templates dashboard page from the sidebar.
- Click the Actions dropdown button next to your template.
step tHREE
Adding recipients.
Recipients can be added manually or via a CSV file.
If you would rather add your recipients one-by-one than spend the time formatting a .csv file, you can do so by clicking Add recipients manually. This will remove the upload file form and display a single row for each recipient to which your bulk send will be sent.
If you wish to upload recipients using a .csv file. ensure you download the .csv file template by clicking on the blue download link. This .csv file is automatically generated to suit each individual template.
Depending on what additional recipient fields have been set up on your template, for example, a private message or a redirect path, these fields will be shown with each row. Each recipient must still be given a first name, last name and email address before your list will be accepted.
step four
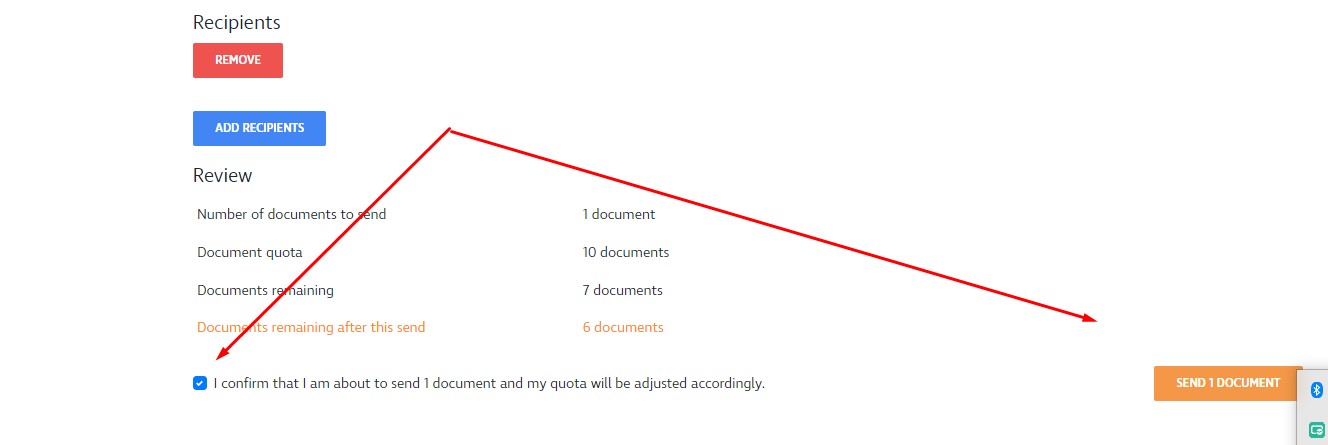
Confrim then send
RETURN TO RESOURCES


